Waiter Project
Concept Art
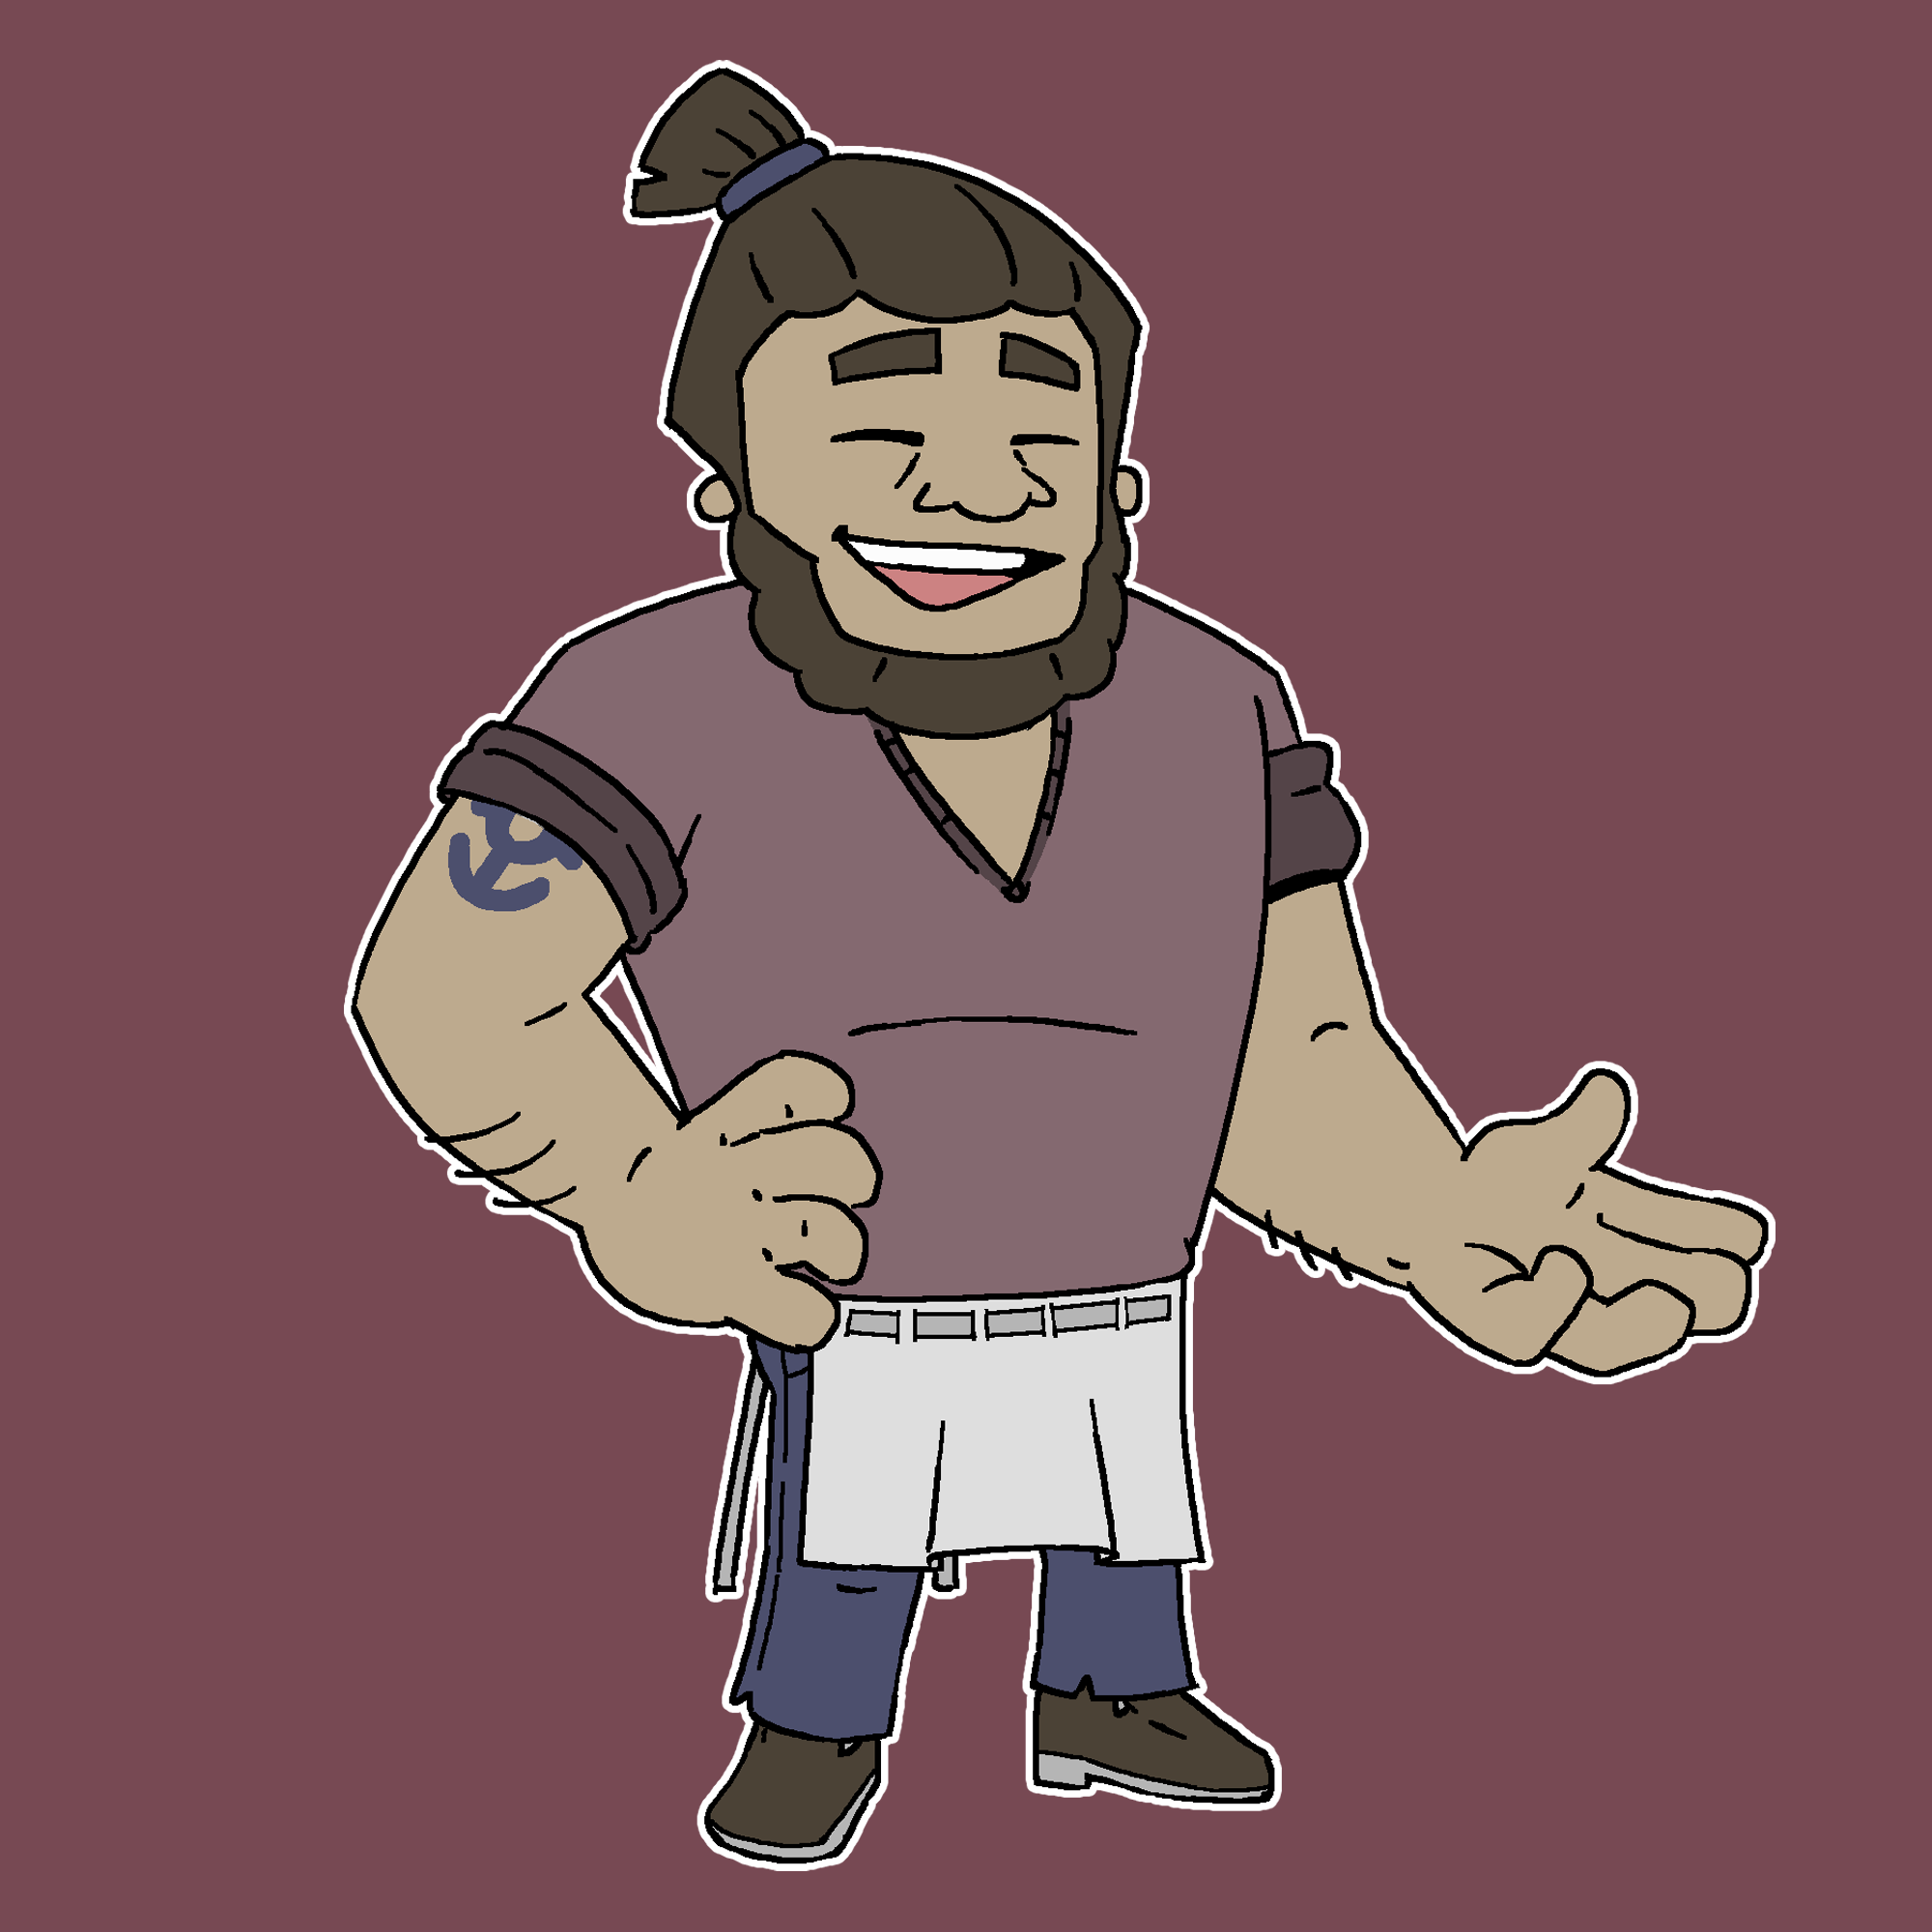

I love creating stylized characters, and when presented with an opportunity to experiment with my character design skills, I came up with The Waiter.
I envisioned him as a very respectful person, whose clearly lived a life before settling down at his family’s restaurant on the boardwalk. He’s someone who is content with where he’s at, and wants to take things as they are.
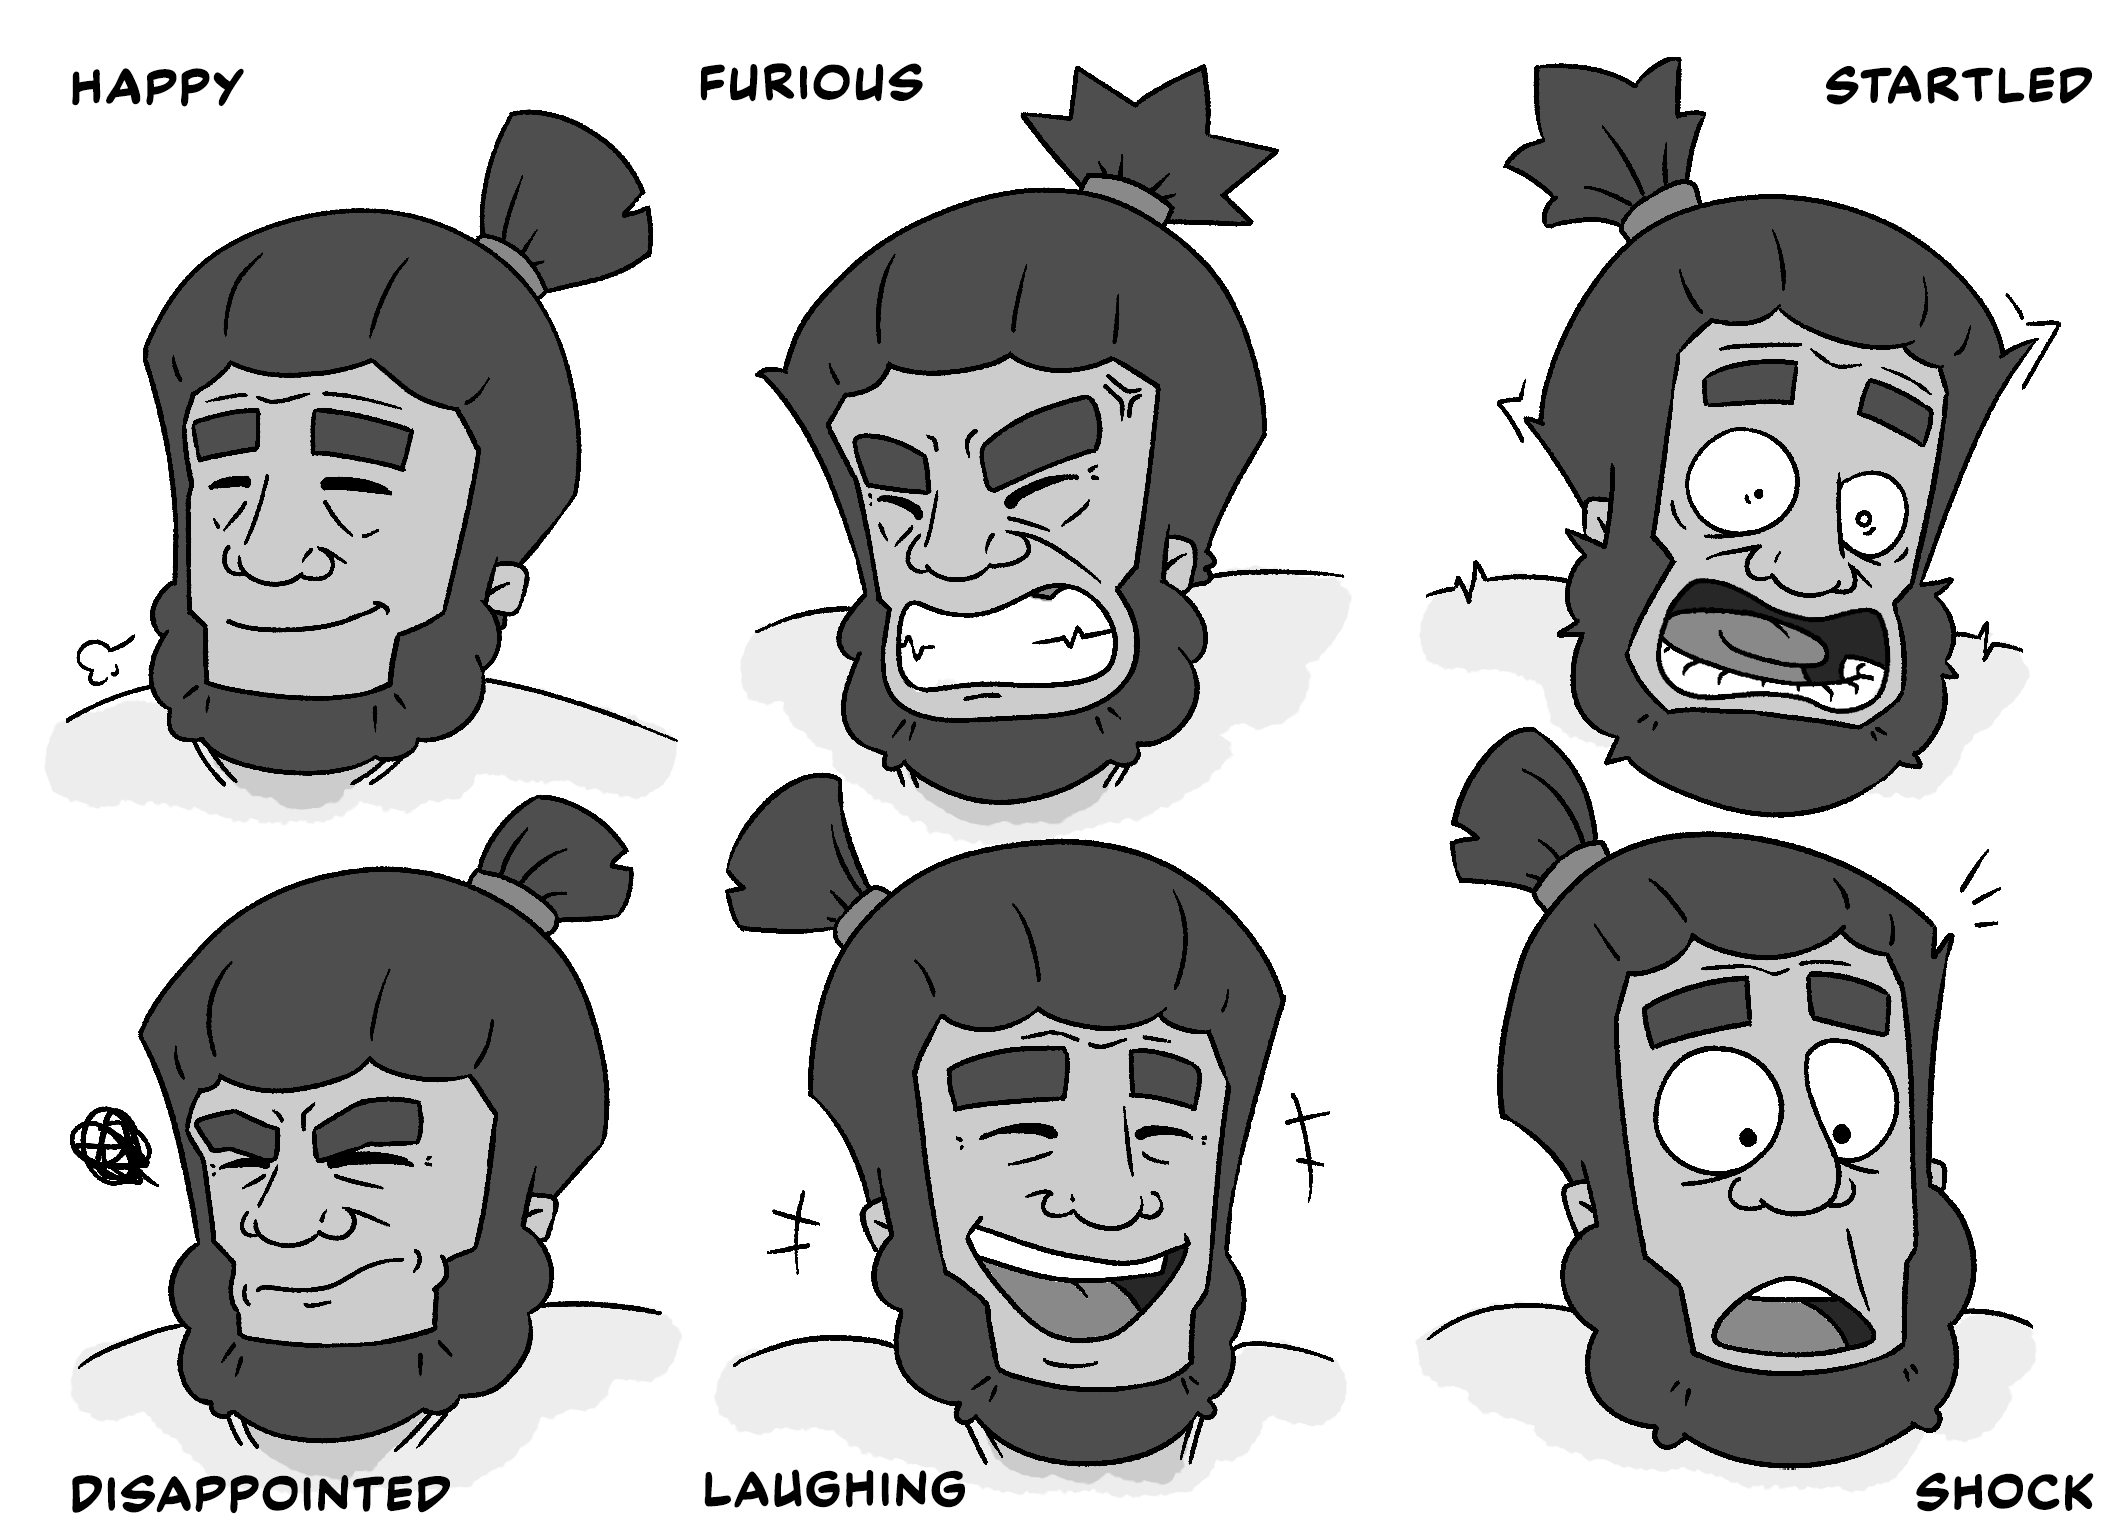
On the left is the initial sketch I came up with for this character, but I knew I wanted to take him further, so I made an expression and pose sheet before diving into a proper model sheet (below).
Model Sheet

The Model Sheet solidified where I wanted to go with this character, tweaking some subtle details like giving him more defined pectorals, changing the shape and design of his apron, and adding more volume and depth to his hair.
Figuring out how to shape his top heavy design was a challenge to get right, but I am very happy with where this ended up, especially when it came time to sculpt it in ZBrush.
3D Modelling

Programs Used:
Adobe Photoshop
ZBrush 2024
Autodesk Maya 2024

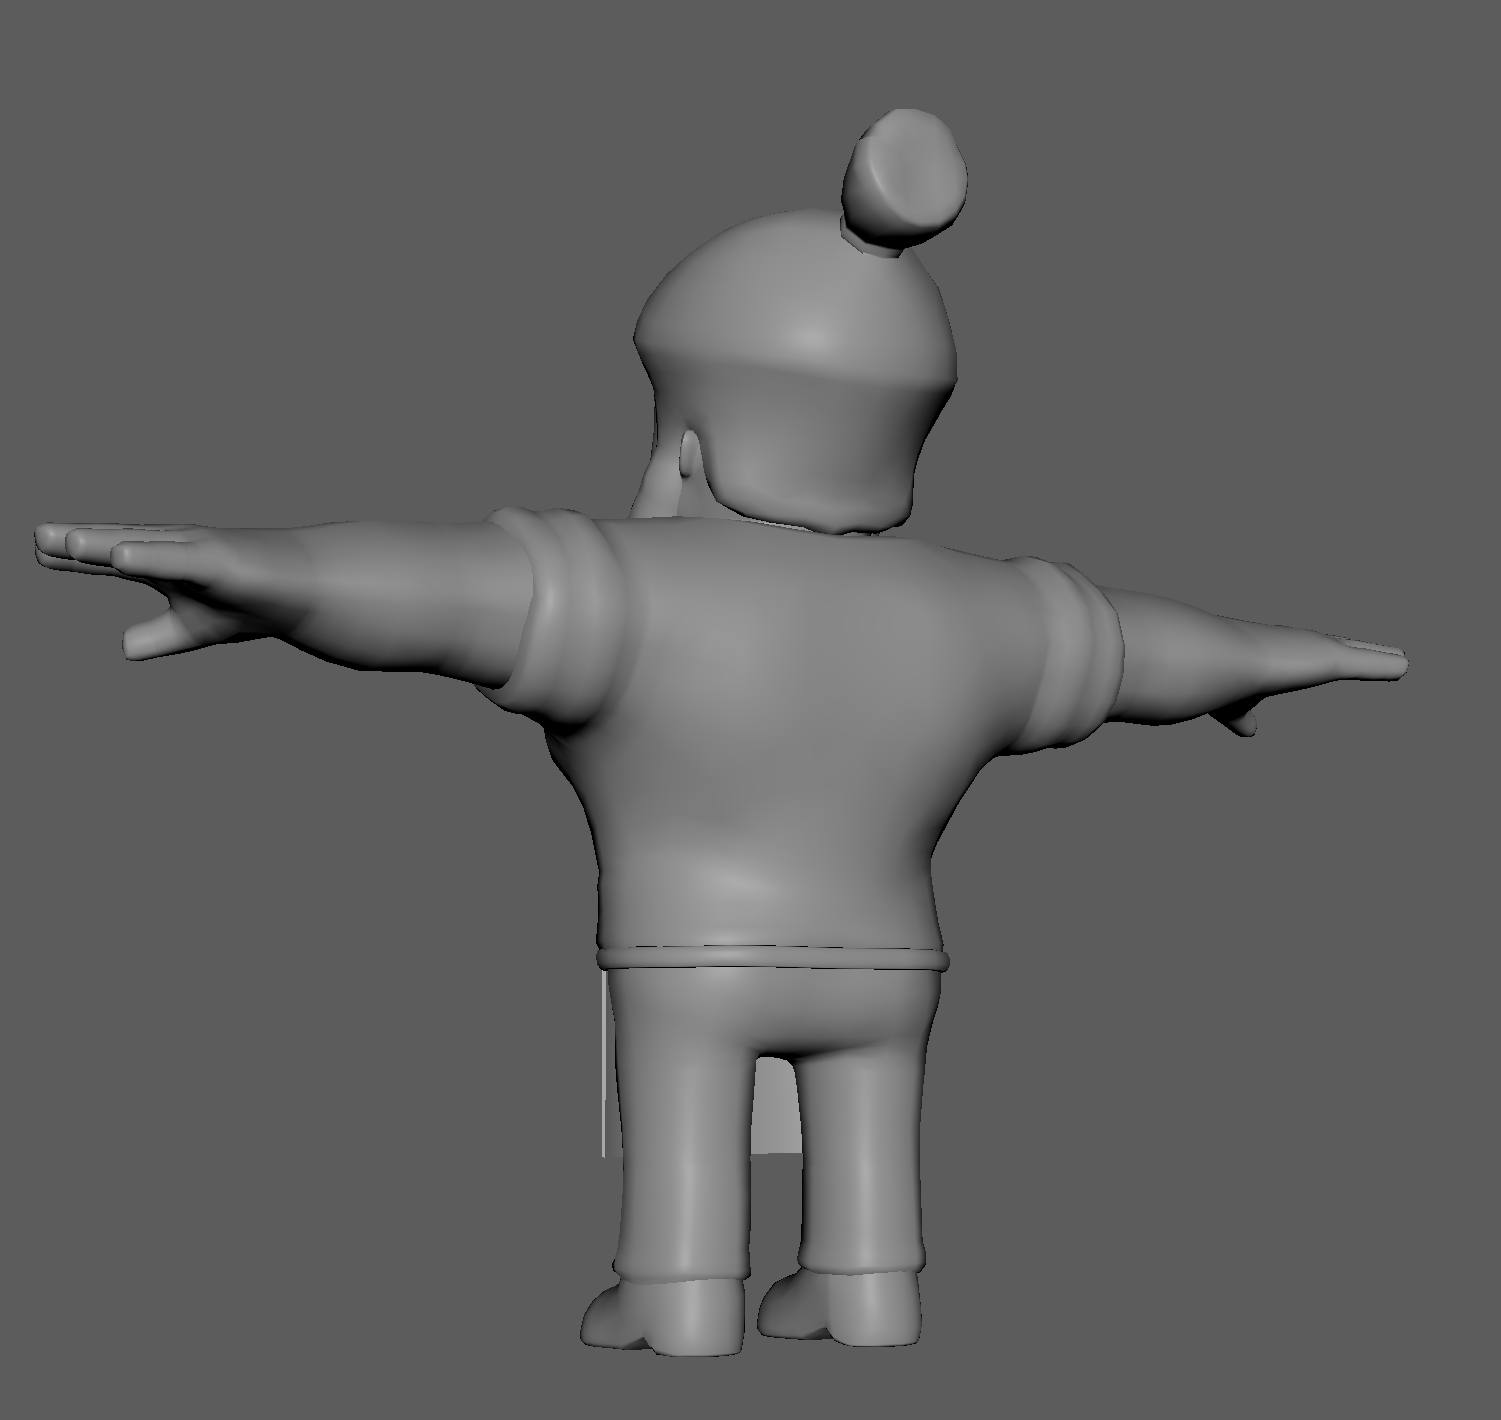
This High Poly Sculpt was made in ZBrush, and the robust tools that it offered made it easy to translate the art into a 3D Model. While modeling, there were a few things that were changed, mainly adding more defined musculature to the arms so when retopologized and rigged, they bend and deform realistically.

Using the high poly sculpt, I was able to easily retopologize it in Autodesk Maya, and now adding in the apron. In addition, great attention was taken to make sure that all of the details were kept intact, while reducing the poly count from over 3 million to only ~15,000.
The personality of the initial concept art remains intact, now brought to the third dimension seamlessly.